5.2. Thiết lập Email Sender
Steps to Configure Sender Email with a Verified Custom Domain:
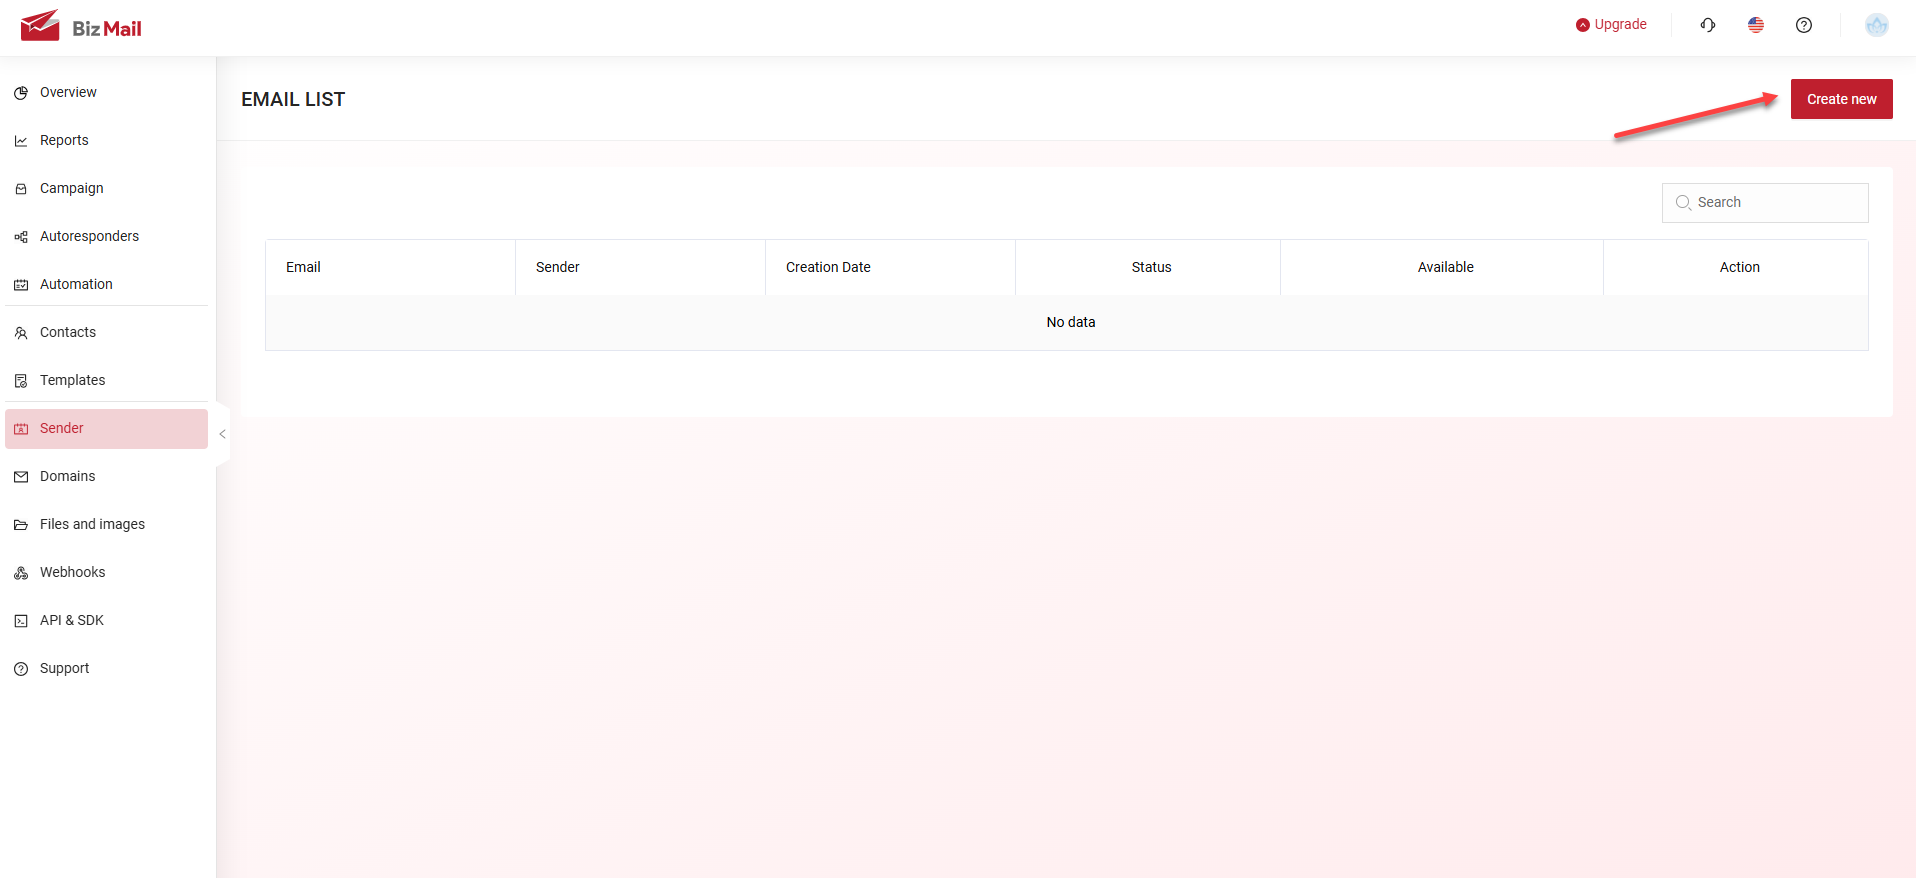
Step 1: Access Email Sender Configuration
- Navigate to Configure Sender Email.

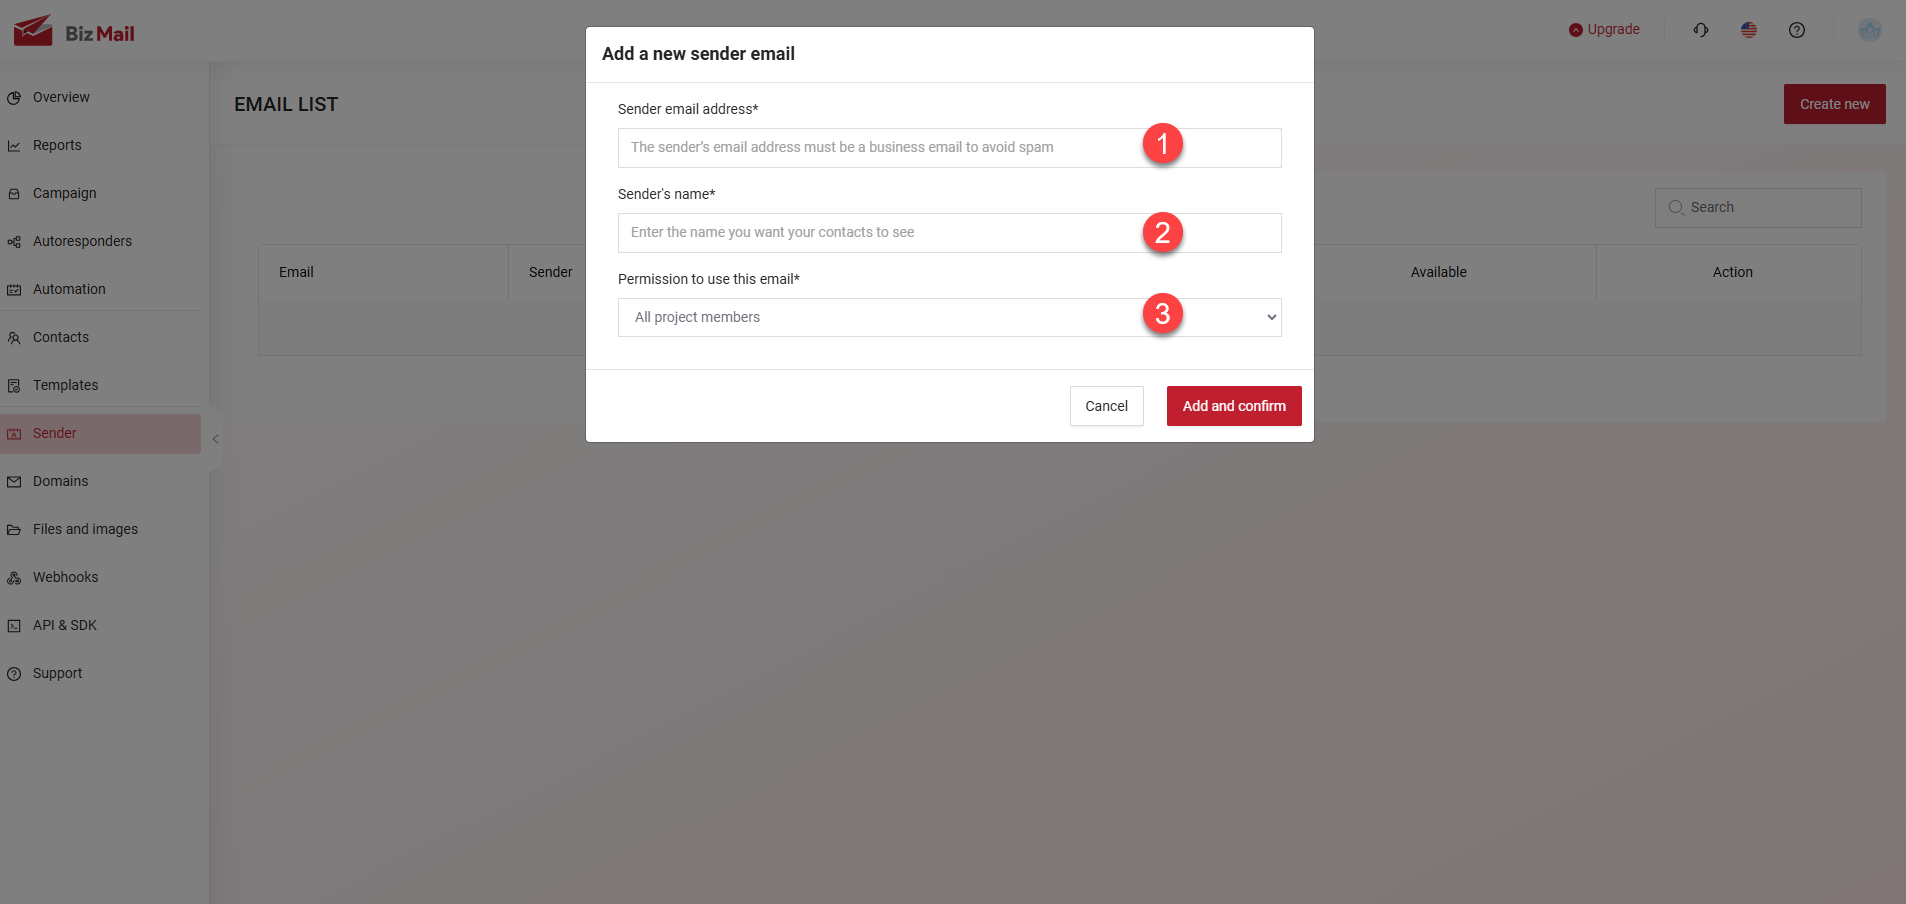
Step 2: Enter Sender Email Information
(1) Sender Email Address:
- Must follow the subdomain + verified domain format.
Example: If the verified domain is mkt.domain.vn, the email should be abc@mkt.domain.vn (replace abc with any preferred name).
(2) Sender Name.
(3) Select Email Usage Permission.
Finally, click Add and confirm.
Step 3: Automatic Activation
- If the email follows the correct verified domain structure, it will be automatically activated.
- If you skip the Domain Configuration step and use the default domain we provide, you only need to add the business email (do not use personal emails). Then, you will receive a confirmation email requesting email activation. You just need to click 'Verify email access' to complete the process
- The email is now ready for sending customer emails.
⚠ Note: Emails that do not match the verified domain structure will be sent using AIBizmail’s default domain, which may reduce email campaign effectiveness.